Art Clay Bronze was released in February 2022. I right away got my hands on it and here I share my experience.
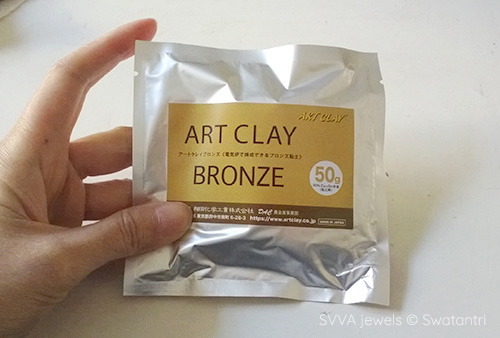 Art Clay Bronze pack
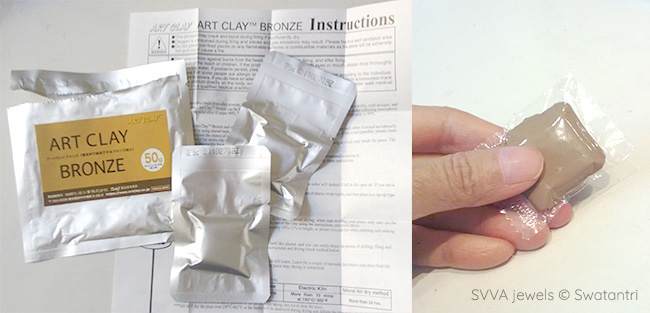 Inside the package: 2x25g Art Clay Bronze & Instructions sheet
Shaping
ACB is soo nice to work on, I mean, like… dreamy consistency! No need to knead, it’s soft without being smudgy, and I right away noticed there’s no grainy feeling at all. It doesn’t stick to the skin and overall, it’s just so pleasant to work with.
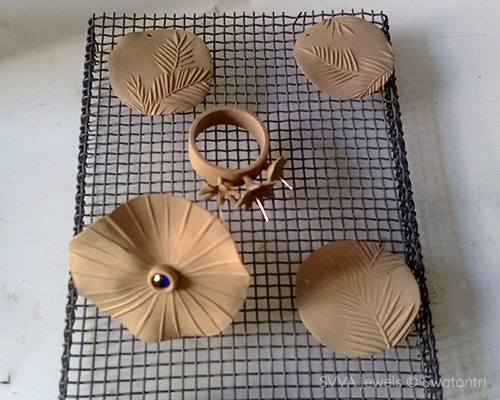
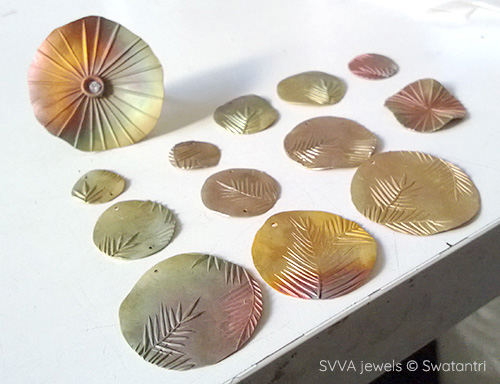
I wanted to create something simple but with a bit of challenge for my first projects, so I went for textured pieces of pendants and rings.
When using a roller and plastic strips to flatten the clay, it went very easily. With the texture plates, it picked the details very well. Despite the dry air of winter months, it stayed moist. Only when using the last bits of clay I noticed some dryness, but just like with silver clay, this could be easily solved by introducing some tiny bit of water into the clay and kneading.
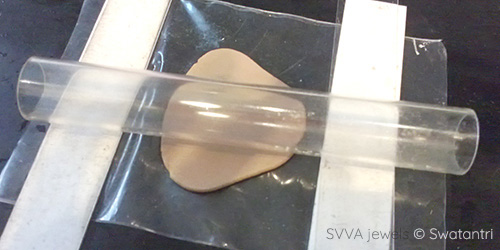 So easy to roll, non-stick, soft yet not smudgy and not sticky
Drying
I left my pieces to dry naturally (24 h). They got dry completely after that period and kept the original shape of the wet stage as I intended to, both for larger and smaller parts.
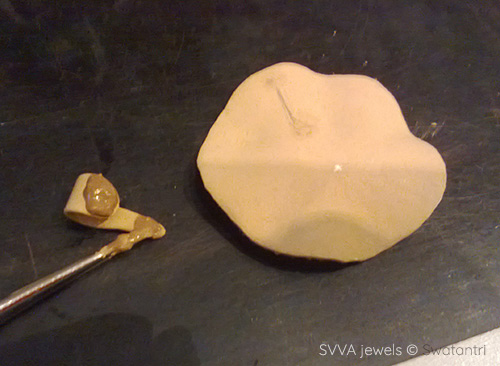
Prefinishing
After drying, I prefinished the piece. To smooth the edges, I simply moistened the dry piece with some water and shaved it using a craft knife, which is my preferred way especially for working with larger chunks of clay. This step went smoothly. *Very* easy to moisten and shave, again no grainy feeling at all.
For attaching two dry parts together, I made some Art Clay Bronze paste. I simply added a few drops of water to a little pinch of leftover clay, in which some were dry pieces from the shaving, and then mashed it with a spatula.
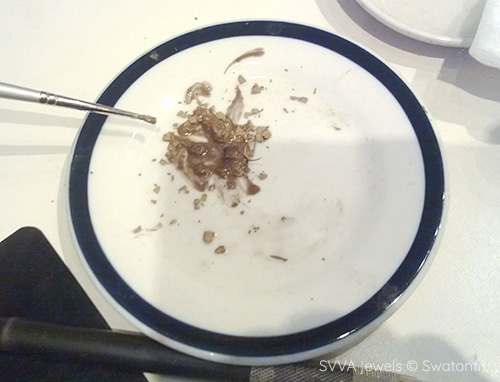 Easy to make paste from leftover dry pieces as well.
I moistened parts to attach with a moist brush, made a few scratches using a craft knife when applicable to create more grip on the joins, then applied the paste on one side and joined the pieces together then let it dry. When the piece was completely dry, I cleaned up the excess clay again using my favorite way of moistening and shaving technique.
 Attaching two dry parts is pretty straightforward.
Art Clay Bronze shrinks 10-13% so for the rings I made the diameter approximately 12% larger than the actual size.
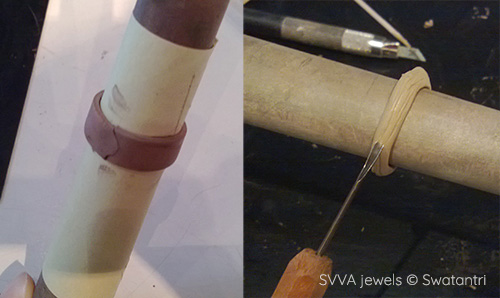 Made two types of rings. Flat band (left) and round band (right). On the round band I tried carving and it went easily to.
Firing
I followed the instructions for the firing with the activated carbon. Ramping up from the cold kiln, to 820°C/1508°F and holding at 820°C (1508°F) for 2 hours. When ready, I let it to cool off naturally. I’ve worked with base metal clays which need reduced firing in activated carbon before, however for some reasons when I took my first pieces they were broken, which seemed to be unsintered.
So, with the left over dry pieces, I tried a different method. This time I fired them in two steps, started with an open shelf firing to ensure the binders burned away completely first, followed with the second step in activated carbon. Results: Pieces are solid and strong!
 Second time firing, this time with two step method.
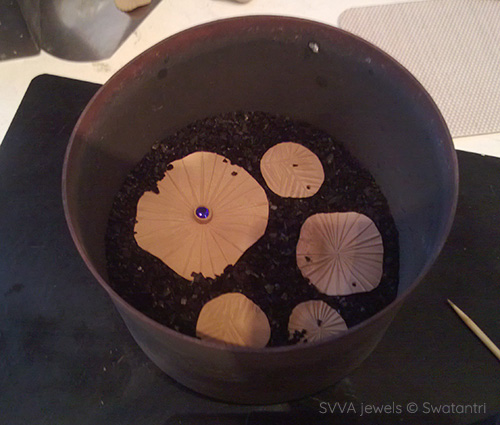 Pieces were set in the carbon container after the open shelf firing.
Finishing
I cleaned the pieces under running water, then finished the pieces using brass brushes. I also added some highlights using a burnisher. The bronze pieces came out in different colors, ranging from beautiful rainbow before polishing, to beautiful golden color which is so warm and rich.
 Loving the results
Shrinkage check: the rings fit well to my fingers. So the shrinkage of 12% seems to be pretty straightforward.
Summary
Overall, Art Clay Bronze has a very nice feel, the consistency is so pleasant, and makes me look forward to going back to the studio and create something with ACB. With the firing, 2 steps seem to be the one works for me, so I’ll stick to this for my next projects, until I figure out more about the one step firing. *Update!* This post was written when Art Clay Bronze was newly released, and I learned recently that if the kiln’s temperature display shows higher numbers than the actual temperature it might cause unexpected result with the one step firing. So, raising the firing temperature might solve the issue with one step firing. However, check out this space or my other blog posts for any official updates from Art Clay regarding to the firing temperature.
Art Clay Bronze Contest
Art Clay the manufacture of ACB is holding a photo contest on Instagram. Celebrating the debut of Art Clay Bronze, there are prizes of total value over $1500 to win, and they’re really lovely prizes. For purchasing the Art Clay Bronze, check your local Art Clay distributors.
Hope you find this post useful, thank you for reading.
Elisabeth Davies
Hi, I am just trying Art Clay Bronze again and am struggling t sinter with the one step firing schedule. I ramped at 600 an hour to 860 and it still did not sinter. Now will try the 2 step process. At what temperature did you do the burn out and for how long? Regards Elisabeth
SVVA
Hello Elisabeth! I fired my Art Clay Bronze pieces in two steps: 1st Open shelf firing 500°C for 10 minutes then take the pieces out, and 2nd Carbon firing ramp up from room temperature (or sometime I also do it from 100-200°C) to 820°C for 1 hour, then let cool off naturally in the kiln, I take the container out when it’s room temperature. Hope this helps!