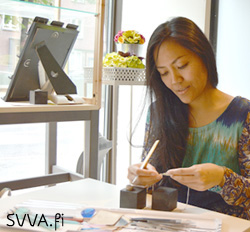
Creating new pieces of jewelry is the one thing I look forward to do at the studio, and I hope I could have all the time just to do this. Now I’d like to invite you to see a bit of the making process of my silver necklace ‘Lovely Leaves’, to give an idea how a piece of jewelry is made, completely handmade from scratch at my studio.
I wanted a new spring and summer jewelry to wear daily, so I intentionally planned it to be a lighter piece. Although quite large, this piece only weighs less than 10 gram including the chain.
I used Art Clay Silver metal clay and created three parts for the jewelry. It’s great as there was no wasted material, all the cut outs from the first part were used to create the next parts. I use a wide range of techniques to create jewelry and on this one you can see how a simple household object could be transformed into a tool. Beside the metal clay, I also used jewelry UV resin gel and pigments, jumprings, and a silver necklace. Whenever working with materials and tools, I make sure to follow the instructions from the manufacturers and wear safety devices when necessary.
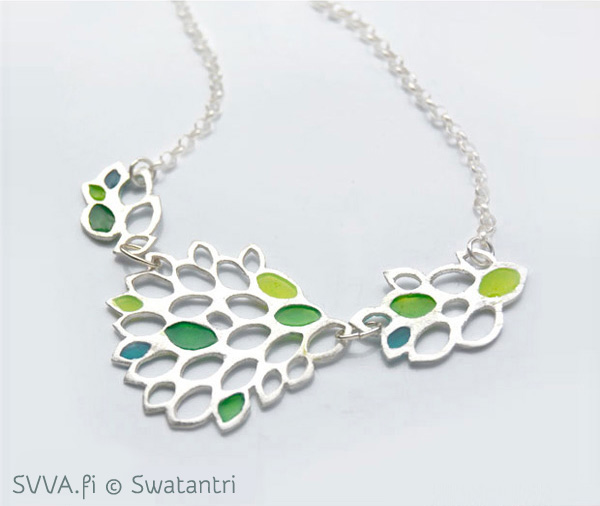
So here’s how I made this piece.
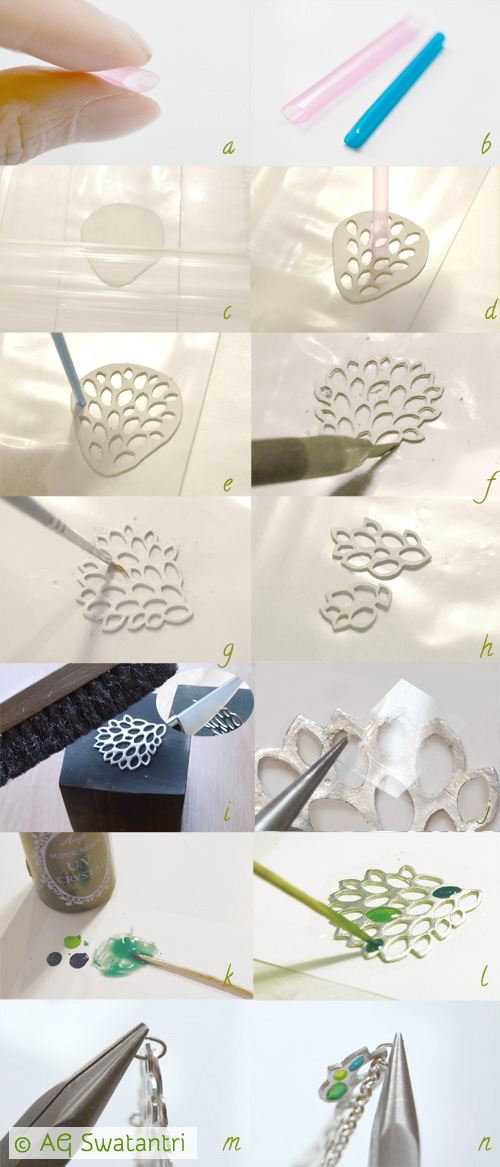
For this project I started by making tiny clay cutters in marquese shape using very simple household things: straws! Short pieces of a regular size (diameter about 5mm) and a cocktail size (diameter about 3 mm) straws. I just pressed the end of each straw using my fingers and pop it back, reshape it as necessary to create two little handy cutters (pic b).
As a working surface I used a non-stick piece of plastic and applied a thin film of vegetable oil on the surface. I ‘pre-shaped’ the clay lump into a teardrop then rolled it out into 1 mm thick flat shape using a roller and a pair of 1 mm plastic strips (pic c).
Using the larger straw, I started to cut out holes with distance about 1.5 mm from each other (pic d). While cutting the clay I lifted the excess clay using the straw, and collected these in a piece of cling film.
After this I continued with the smaller straw, basically cutting out available spaces left (pic e).
Using a craft knife, I trimmed the edges, about 1.5 mm from the edge of the openings (pic f). I ran a moist brush to smooth the edges (pic g). All leftover pieces were collected and kneaded into a lump. From this lump, I repeated the same process again to create the second piece which was smaller. Then I continued further to create the third piece which was even smaller, so I had two smaller elements at the end (pic h).
I dried all the three pieces in the room temperature to avoid warping and continued with pre-finishing the piece, basically checking if there were any sharp edges or excess clay that needs to be removed. At this point, the pieces were very fragile, and could be easily break so I needed to be extra careful. I continued to fire the piece. There are several ways to fire silver clay according to the manufacturer, but as usual I used a jewelry kiln to fire these pieces.
After firing I quenched the pieces in the cold water and continued with polishing by hand, using a steel brush (pic i). I also burnished the edges using an agate burnisher (insert pic).
Then I started to add colors to the piece using UV resin. I chose which cells I’d like to fill in with color, and on the back side of these cells I stick a small piece of clear tape, using a pair of tweezers, carefully not to leave any finger prints on the tape (pic j).
On a paper palette, a sort of waxed paper, I mixed tiny amount of basic blue, green and yellow acrylic pigments to create three totally unique colors: leaf green, lime green and teal.
I poured a small amount of UV resin gel to the paper and mixed slowly with each color mix using toothpicks. Using the toothpick I started to apply the gel and pigment mix to fill in the cells which already had tape on their base. After all cells in the piece were filled, I cured it in the UV light box. My UV light box is especially for jewelry making and it took just about one minute to cure the resin. After this I took out the piece, flipped it and cure the back shortly. Then I removed the tape, checked with a toothpick if all cells filled in nicely and the gel cured properly. If necessary I added more gel and cured it again.
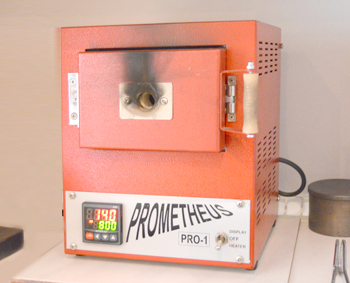
The jewelry kiln can reach up to 1000°C (About 1832°F)
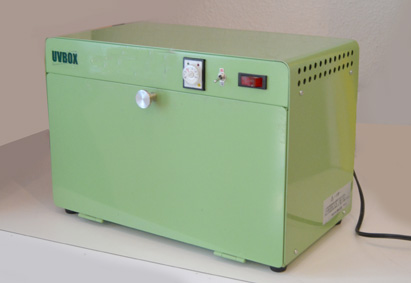
The UV light box I use
The last step, I attached the three jewelry parts using oval jumprings. I cut a round link silver necklace into half using a flush cutter and attached each loose end to the outer part of the elements using round jumprings.
My jewelry is finished!
Hope you enjoy taking a peek at the jewelry making process going on my studio tables and got an idea of the jewelry creation.
Let me know if you have questions or comments below. I will share some ‘behind the scenes’ and more posts from the studio in the coming times.
Did you enjoy this post? Sign up for the newsletter and keep in touch with SVVA:

Jude
Wonderful blog. Thank you for sharing. I love the necklace.
SVVA
Thank you Jude, glad you enjoyed the blog. Really appreciate your kind words!
Sally
Thanks so much for writing this up and sharing it with us, what a lovely necklace!
SVVA
Thank you Sally :)